Thursday, October 31, 2013

Happy Halloween!

TRICK OR TREAT!
 This is the pumpkin for this year. It still has a hot rod theme but also has a Halloween theme to it.
Hope everyone has a Happy Halloween.

Tuesday, October 29, 2013

The class 11 bug is back on the ground.

I finished up the front end of the bug tonight and got it off the jack stands. Here the front end is all done except the dust cover needs to be put on. I installed new ball joints, Tie rods, steering stabilizer, raised spindles, speedometer cable and I repacked the wheel bearings. I guess I could of cleaned up the front beam and torsion arms and painted them but I want to get this thing on the road! I did take the time to strip and paint the drums. They looked pretty rough but cleaned up nicely.
 When you install raised spindles, your speedometer cable will be too short. I found that a super beetles speedometer cable is a little bit longer and works out to be the perfect size. Here you can see the difference between the 2. It's also a good idea to make sure the raised spindles you buy have the hole for the speedometer cable if you are planning on using it.
 Here it is right after I got it off the jack stands. It is sitting absolutely perfect. I love the stance it has here.
 There is only 1 problem though. I don't have the engine installed. This is the exact height I want it to be when all is said and done though.
Isaac is really excited. He wants to drive it so bad. I kinda do too. I think a couple more weekends and we will get it out under it's own power.
 Isaac was surprised that it is taller then he is.
 Here you can see the difference in our other bug. Isaac is used to this one. I have to admit that getting into the blue bug will be a ton easier then the white one. Maybe I can even get my Dad to go for a ride in the blue one. He won't go with me in Ed for some reason???
 Here are the parts that I replaced from the front end.
I am a little over 30 inches to the bottom of the front fender.
 Ed is 22 inches so I am over 8 inches different between the 2. It seems like these 2 cars are at the extremes when it comes to ride heights.
 So I have came up with a plan to raise the rear end of the bug and only have to do it once. I had Dixie, Ellie and Isaac sit on the back bumper of the bug. That is to simulate the weight of the engine. I then measured the height from the ground to the middle of the rear apron. It was 11 inches. I then raised the car to where I wanted it to sit when it was raised and remeasured the back apron. It turned out to be 14 inches. So I need to re-index the rear spring plates so I get a rise of 3 inches.
 I found this chart on the samba. According to the chart I need to turn the inner splines of the torsion arm 4 "clicks" clockwise and the outer splines 3 "clicks" counter clockwise. That should give me 3.01 inches of rise.
I want to say that I am going to do that this weekend but I have a feeling that I am going to spend all of Saturday putting the engine back together and ready to install. There just is not enough time on Saturday to get everything done. I still have high hopes of getting this on the road soon so I don't have to drive my lowered bug in the snow. Until next time, Keep your eyes on the road and not on your phone while driving!

Sunday, October 27, 2013

Videos worth sharing.

I was surfing You Tube and ran across a couple cool videos I thought were worth sharing. The first one is about a cool old Ford that a guy bought from an old moonshiner. The car is awesome and I imagine it was very hard to beat back in it's day.
The 2nd one is an interview with Billy Gibbons from ZZ Top. He is a car nut and has some of the coolest cars around. The Cadillac shown in this video is almost to good to be true. I love the car guys that actually get out and drive their cars. He is one of them. I love the quote "having fun while you go from point A to point B is always the order of the day." I couldn't agree more with that!
Halloween is fast approaching. Not sure if I will have time this year to carve a cool pumpkin or not. I haven't had any ideas pop up in my head for a good one. Check back and see what happens.

Thursday, October 24, 2013

Enjoying the Drive part 5.

Here are the cars I found this week. I think they were all loving the drive. The first one was a mustang driven by a girl. Dixie captured this shot. She's my camera person when she's with me.
 My buddy was driving when I got this picture. The bus was pretty beat and it looked like a couple of hippies were driving it.
 I was at lunch when this truck drove by. It looked to be like a nice truck that was just getting put together after it was painted. I like this year of fords.
 I took this picture today on my way home. It was an awesome coe. The guy driving it looked like he was having a blast. Looks like a cool, fun business also.
The weather has been awesome lately. I am thinking that when the weather turns crappier it will become a lot harder to get these pictures. Everyone is getting some last drives in before the weather gets cold.  Hoping to get the bugs front end all buttoned up this weekend. I did get most of the engine tin powder coated, so the engine should be going back together soon. Until the next post, Keep on buggin!

Friday, October 18, 2013

Installing ball joints and raised spindles in the bug.

I finally had some time to work on the blue bug. I have had the raised spindles and new ball joints for a couple weeks now but just haven't had the time to do anything with them. I had a chance to do it today so here is the progress. I have to admit that removing ball joints from the torsion arms is not one of my favorite jobs. I have done many of them and I think this time had to be about the easiest I have done but they are still a little bit of a pain. This is what I started with. The spider web on the shock is fitting for being so close to Halloween. First start by removing the wheel, and the brake drum.
 The brakes are in good shape. They look to have new brake hardware on them and the shoes are in good shape. I guess I will find out how well the wheel cylinders hold up when I start driving it. I am trying to get this on the road for as little money as possible. Now is the time to remove the 3 bolts that hold the backing plate onto the spindle. You can leave the brakes installed.
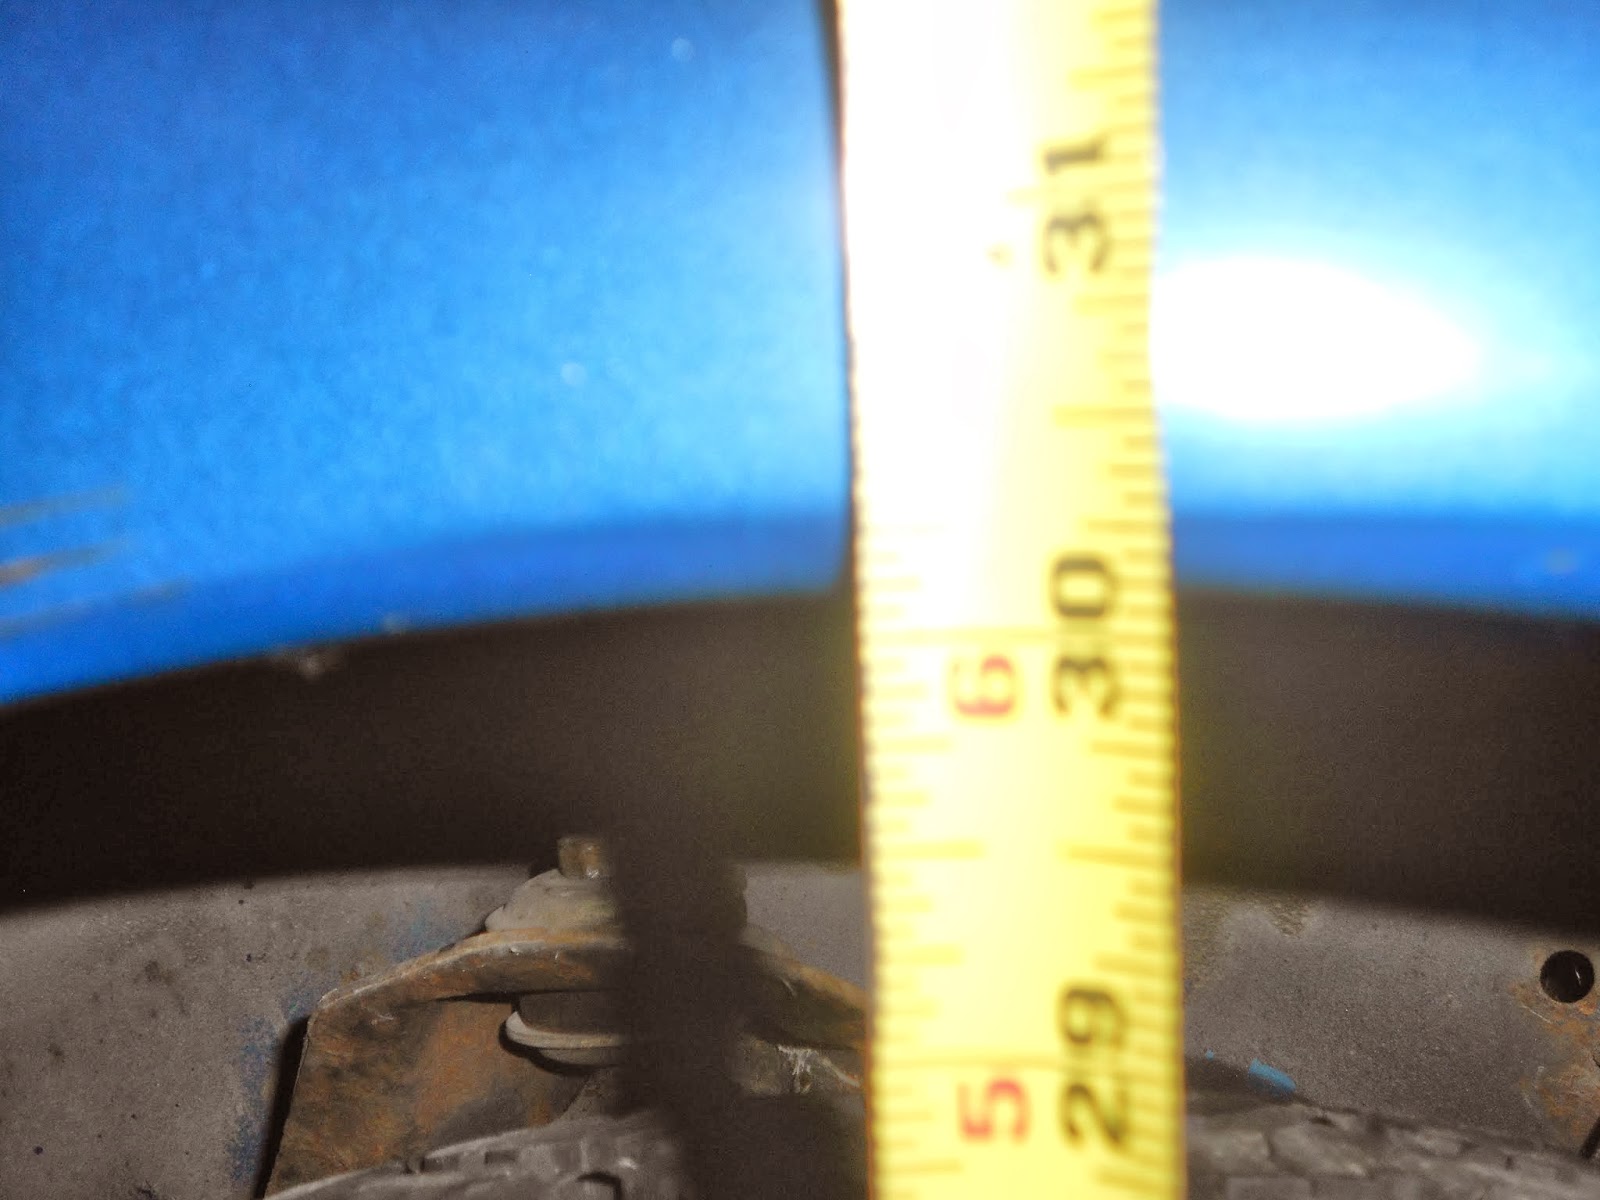
 Just pull the backing plate off and let it hang or tie it up so it's not hanging on the brake line. I was lazy and just let it hang. Now is the time to remove the nuts that hold the ball joints and tie rods on. Remove the clamps that hold the sway bar on and pull out the speedometer cable from the spindle.
 I popped the tie rod out and pulled the spindle out of the upper torsion arm like this. I will use my press to remove the camber adjusting nut off the ball joint and the spindle off the lower arm. If you don't have a press life is going to be very hard for you. Use a pickle fork to remove these now if you don't have a press. I also removed just the lower mount for the shock and pushed it off the lower arm.
Remove the nut and Allen screw that hold the torsion arms on and pull them out. That is all you will need to do for this side so go to the other side and do it all over again.
 Here are the arms ready for some press work. If you don't have a press I think you are going to have to pay a shop to press your ball joints out and then put your new ones back in unless you can locate one and borrow it. Even with a press the lower ball joints suck to get out.
 I bought this 20 ton press awhile ago from harbor freight and it has worked great for everything I have used it for. It pays for itself every time I use it.
 The upper arm ball joints come out really easy if you have the right diameter tools for the press. Here I am pressing it out.
Success!
 The lower ball joints are a little trickier. I start out by cutting off the arm of the ball joint like this.
 If you look closely in this picture you can see the bottom side of the ball joint. There is not very much room to deal with when you are pressing out the ball joint. I keep any round metal I find to use with my press and I happened to keep the races I changed out on a friends trailer. The smaller race just happened to fit perfectly over the ball joint.
 It worked great. I used the narrow side of the race so the ball joint could slide down into it when I pressed it out.
Here it is set up in the press. It helps to have a buddy hold things while you get it set up because most of the time you have a few pieces together like you see here. I didn't have a buddy with me so it took a little bit of balancing to get everything set up before I pressed down on it.
 Here the ball joint is pressed out. You can see it in the race and the arm is pulled up on the socket for the picture.
 Here is the ball joint that I pressed out. I have beat these out with a rivet gun before but it takes a friend backing up the arm with a bucking bar to get them out. It is also a loud and long process doing it that way. I found the press worked a lot better and faster if you can find the right set up to press it out. I will definitely keep this race for future use.
 The new joints press in really easy compared with pulling the old ones out. It seems like common sockets work well to get them in. Here is the upper one pressed in. Make sure you take off the boot before you press them so you don't rip it. They come off really easy.
You also need to line up the notch with this tick mark when you press them in. If you don't you will not get the right movement out of your ball joint and you will have to buy new ones and start over. These marks are on all 4 torsion arms. I wipe out all the grease that the factory puts into the ball joints. It usually is not very much. I wipe it out so you don't have any incompatible greases mixed together. I then pack it full with a bunch of Mobil One grease and put the boot back on.
 Here is a comparison of the raised spindle on the left and the stock spindle on the right. I bought the raised spindles from Kustom 1 warehouse. They seem to be pretty good quality. I think I will be happy with them. They are a 3 inch lift which should be about perfect.
 Another shot of the difference between the 2.
 With the new joints installed it's time to install the torsion arms back into the beam. Grease them up really good before you put them in and make sure they seat all the way. Install the Allen screw and lock them down with the nuts and your good to go.
Here the new raised spindle is installed. Now you just tighten down the nuts on the ball joints and re-install all the  other stuff that was taken off.
 I have almost everything together here. If you run raised spindles, you will need to buy a super beetle speedometer cable. The stock one is too short now but a super beetles will be perfect. I still need to pick one up. I also need to buy a steering stabilizer because mine is leaking.
 I cleaned my wheel bearing and repacked them. They should be good for many miles now. I was able to save my rear seals so I won't have to buy new ones.
 I use one of these bearing packers to pack wheel bearings. I don't mind doing them by hand but I have this tool and it is so fast that I use it when I can. If you do a lot of bearings like I seem to, these are well worth the investment.
That is where it sits tonight. The front bearings are all ready to be installed. The previous owner had painted the drums red for some reason so I am going to strip them at work tomorrow and powder coat them black. I have all the engine tins that I am going to powder coat tomorrow morning. Hopefully I will be able to get them done so I can get the engine back together. I might be able to get this bug driving before the first snowfall.
So, until next time, take a road trip and check out the fall colors. The weather is beautiful!

Sunday, October 13, 2013

Enjoying the Drive part 4.

It's time again to post some pictures of cool cars I have seen while out on the road. This weeks post has all the vehicles parked. I have seen others but haven't had my camera with me or I wasn't able to get a picture before they were out of sight. Anyways, Here they are! The first one I saw pulled up at Lowe's while I was there. I have always loved these old power wagons ever since I watched Simon and Simon the TV show when I was a little kid. This one was pretty cool. I have noticed that I see a lot more old 4X4 trucks being driven then I do older cars.
 I saw this vanagon on Saturday at the witch fest at Gardner Village. I don't usually like vanagon's too much but this one was cool. It has been raised a little and it had BFG's all the way around. It looked really cool so I took a picture of it.
 The last one I saw was this cool little Datsun 280Z. It was a great looking car. I saw it pull up into the parking lot as I was having lunch with a buddy of mine. I grew up a few houses down from a guy that raced these cars and he was really good at it. He was also a whiz at building them to go fast. I wanted to buy one of these when I first got married but I never found a decent one to buy that was in our price range.
That's it for this week. I will keep my camera at the ready for some more cool cars that I see along my travels. If you have any that you catch send them my way and I will post them up also. Until next time, Don't fall into the norm, keep life interesting!

Monday, October 7, 2013

Air soft BB's to balance tires.

Yep, I am going to try to run my tires with air soft beads to balance them instead of balancing them with weights. There are lots of advantages of running these beads instead of weights. They make beads that are specifically for balancing tires. One brand is called dyna beads. You can read about them if you want. I heard of using air soft BB's as an alternative method that is a lot cheaper and works just as well. I figured this is a good project to try this method. I have been wanting to try it for awhile now and I was going to do it on the last set of tires I bought for my other bug but Discount balanced them for free so I didn't. Anyways, keep reading to see what I did. I finally got some paint on my wheels and let them dry for a day before I mounted my tires on them..
 Here are the tires I am going to run on my class 11 lookalike. I took them to work and removed them from the baja wheels they are on. If you are looking for some good baja 4 lug steel wheels let me know. They are for sale!
 These are the beads that I went with. Get the heavy ones (.20g) I went with 5000 BB's and after weighing them out I have enough for 10 tires. This container cost me 20 bucks so that's only 2 bucks a tire to balance. You can get cheaper ones at wal mart or even cheaper ones on amazon. I went with these ones because they are suppose to hold up better and they were the only ones I saw that had a guaranteed tolerance on them. I figured they had to be good.
 I read that you want to measure out 3.5 ounces for each tire. I used a food scale and I ended up bagging 10 3.5 ounce bags with just a few left over. I then mounted the tires on my rims and just before I set the beads I poured the BB's into the tire. I then just pumped them up and set the bead. It was easy as pie. You can hear the beads rolling around in the tires. When I get my bug up and running I will post on how well they balance. I hear that guys that do a lot of mudding like using beads because they will balance the tires even with mud on them and as they shed the mud it will rebalance as it goes. Call me crazy but if it works I will save a ton of money because I can mount my own tires and I won't need to pay to have them balanced. I go through tires on my lowered bug so it will help there also.  
Here are all 4 mounted and ready to go. I debated on whether to put the white letters out. In the end that's what I ended up doing.
 I couldn't resist putting them on to see how they look. I think that when I get the suspension set up the way I want, it will sit like this when it's on the ground. It actually might be a little higher.


I will need to adjust the steering stops just a little so the tires don't rub on the torsion arms but other then that it should be good. I will be able to start on the suspension when the raised spindles and the new ball joints get here. Hopefully that will be soon. I also need to re-index the rear suspension and notch the spring arms. Hopefully we get it on the road before the first snow flies but time is not on our side. Check back to see if that happens and if the beads work. Until then, Keep on Buggin!